
How to Apply Belka Wallpaper?
Belka Wallpaper – The Ultimate Replacement for Paint and Wallpaper
Belka wallpaper is a simple DIY product that can be applied in just a few steps. Here's how to apply Belka wallpaper correctly:
- Place the required amount of Belka wallpaper mix into a deep container and add water.
- Knead the mixture thoroughly and let it rest for a while.
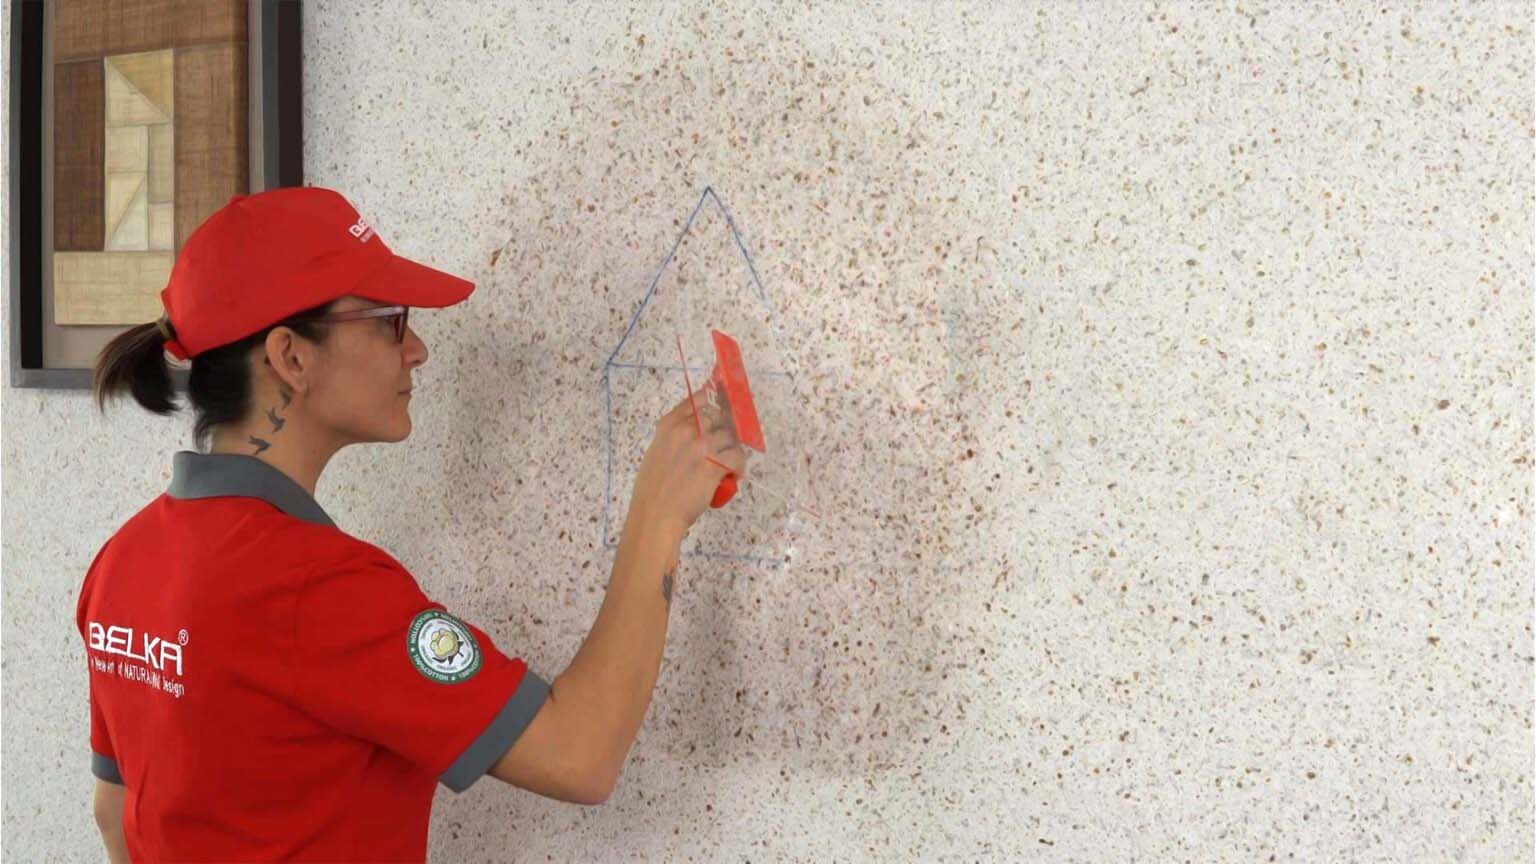
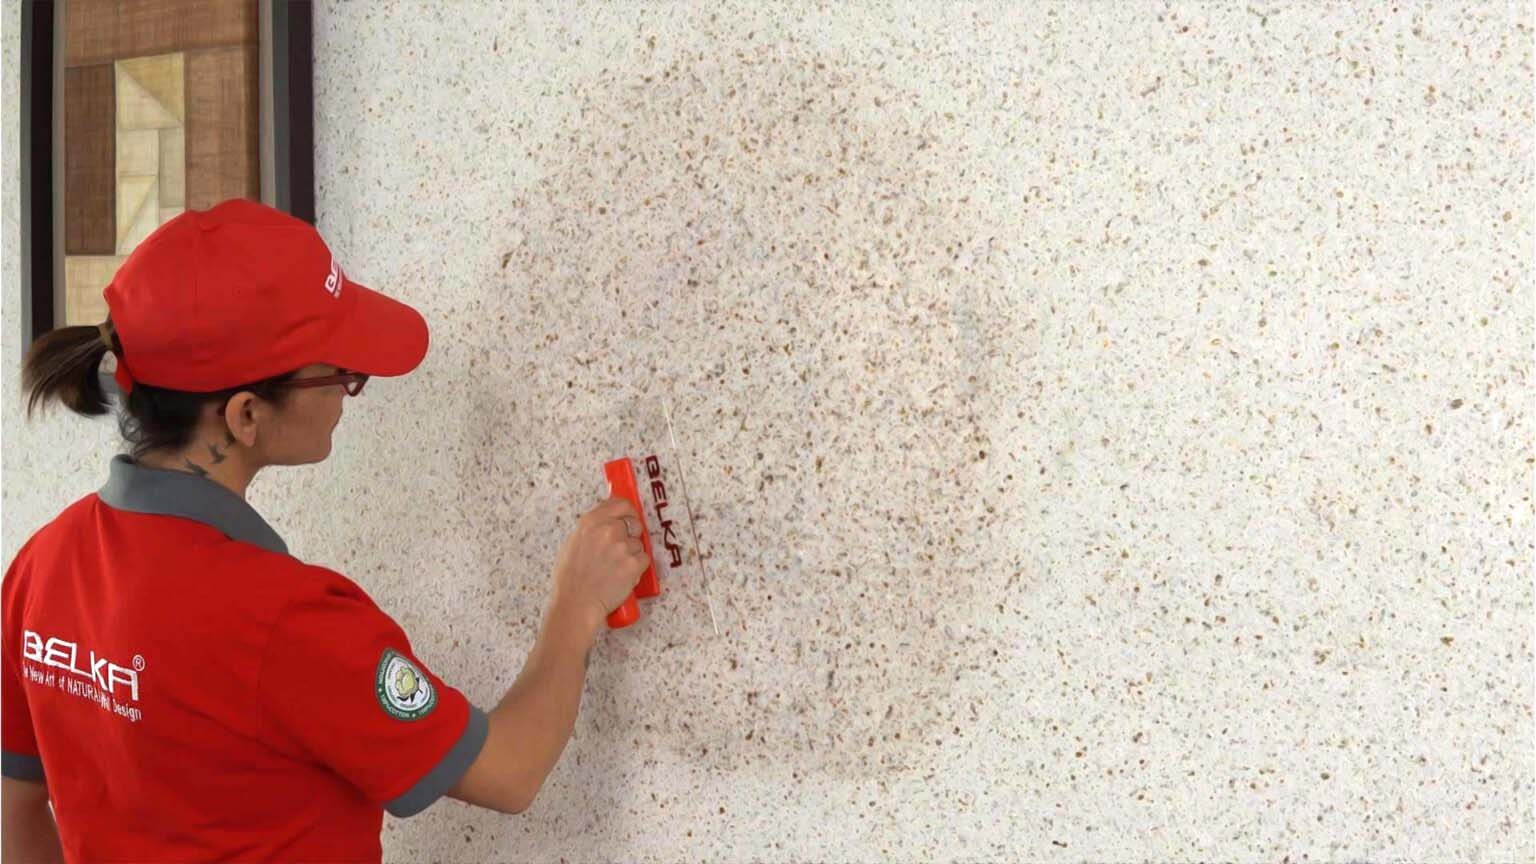
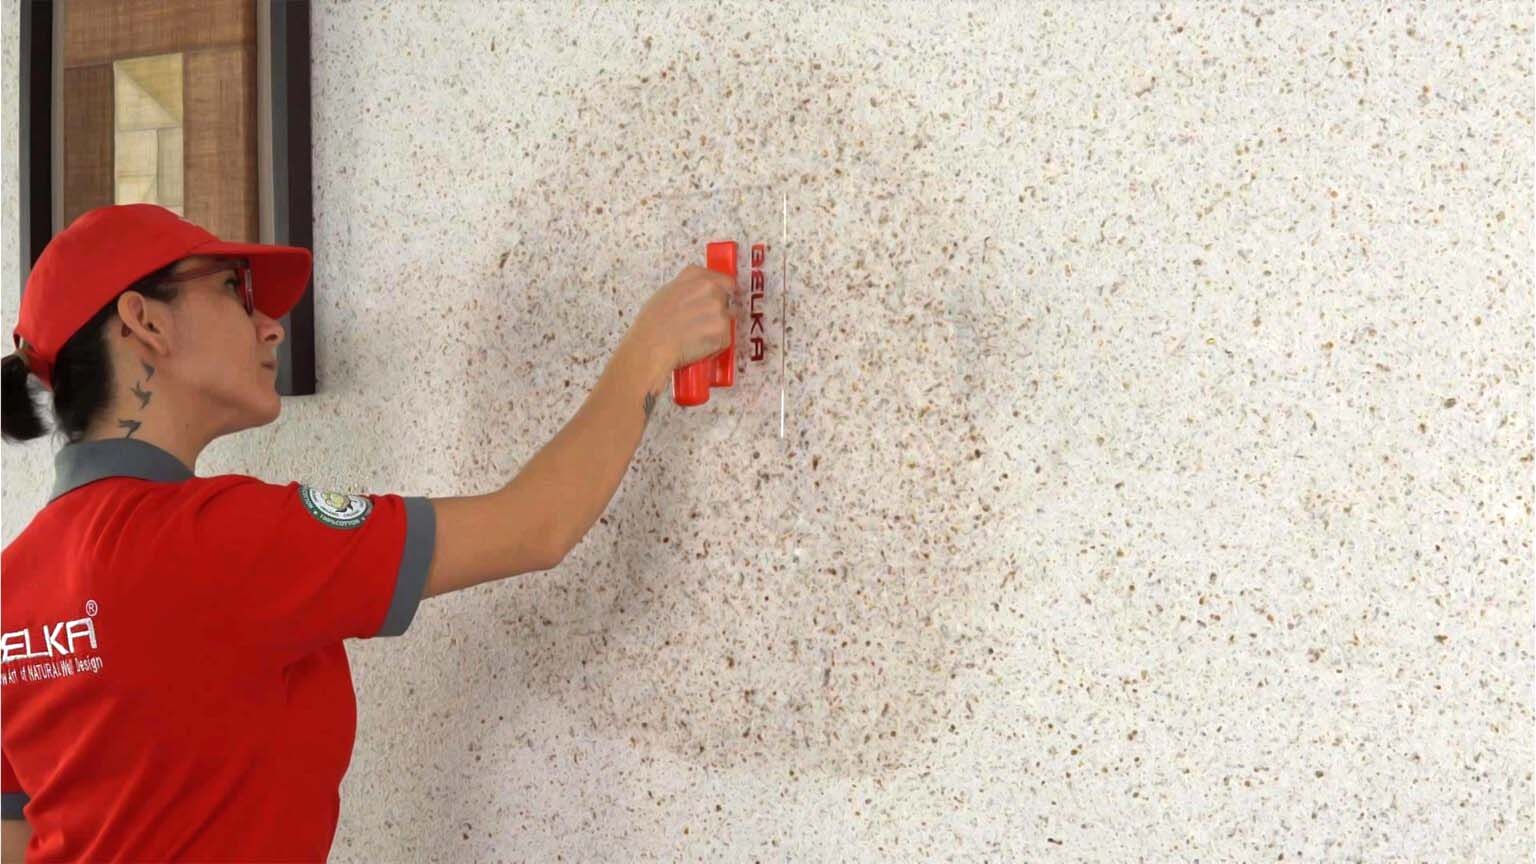
- Use a trowel to evenly apply the prepared material to the desired surface.
For more detailed instructions and special tips, please read the rest of this page.
How to Apply Belka Wallpaper
Do you finally want to have fun decorating your walls? With Belka, you can renovate any interior space in just three simple steps – even the ceiling! Unlike traditional wallpapers and paints, Belka keeps your home clean and mess-free.
Belka: Simplicity in Perfection
Your Wallpaper Solution for Effortless Wall Design
The application of Belka wallpaper is especially simple. All you need are a mixing container, Belka wallpaper, water, and a trowel. Optionally, you can use a mixer for blending. Just add your creativity to achieve impressive results.
To get started, you’ll need a container, such as a storage box. Calculate how much Belka and water you’ll need based on the square meters:
- 1 kg of Belka covers approximately 3 m².
- 3 kg of Belka covers around 9 m².
- 3 kg of Belka covers around 15 m².
For every kilogram of Belka, add 5 to 7 liters of lukewarm water. Ideally, use water at body temperature.
Want your walls to really shine? Add Belka mineral stones at this stage for a stunning finish.
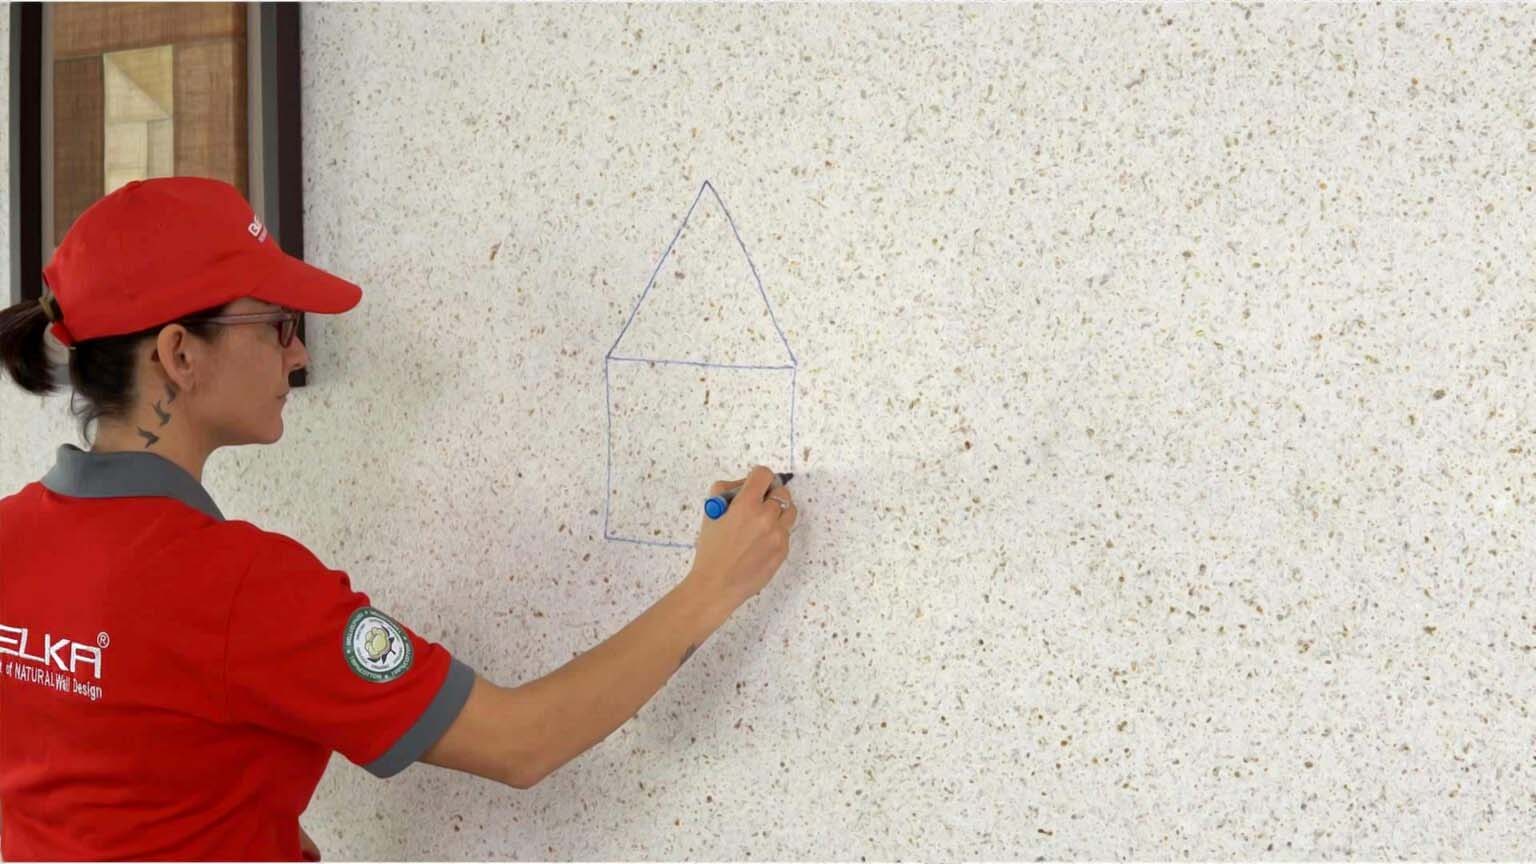
Repairing Belka
Have you ever wondered what happens when your kids paint the walls with their creative artwork, or when everyday life leaves dents and damage on your beloved walls? Don’t worry! With Belka, repairing them is simple and hassle-free. We’ll show you how to quickly and effectively restore the walls in your home to their original state.
Laying Cables with Belka
It may also happen that you need to attach a cable to the wall after you’ve already styled your living room or renovated your kitchen. No need to worry! With Belka, you can fully restore your design. Simply remove the Belka from the intended spot where the cable is to be laid. Once the cables are installed, reapply the Belka. This makes it really easy and ensures that your design shines in all its glory!
In summary, repairing Belka is not only possible but also a great opportunity to keep your home stylish and appealing. With a little patience and the right steps, you can ensure that your walls are always in the best condition.
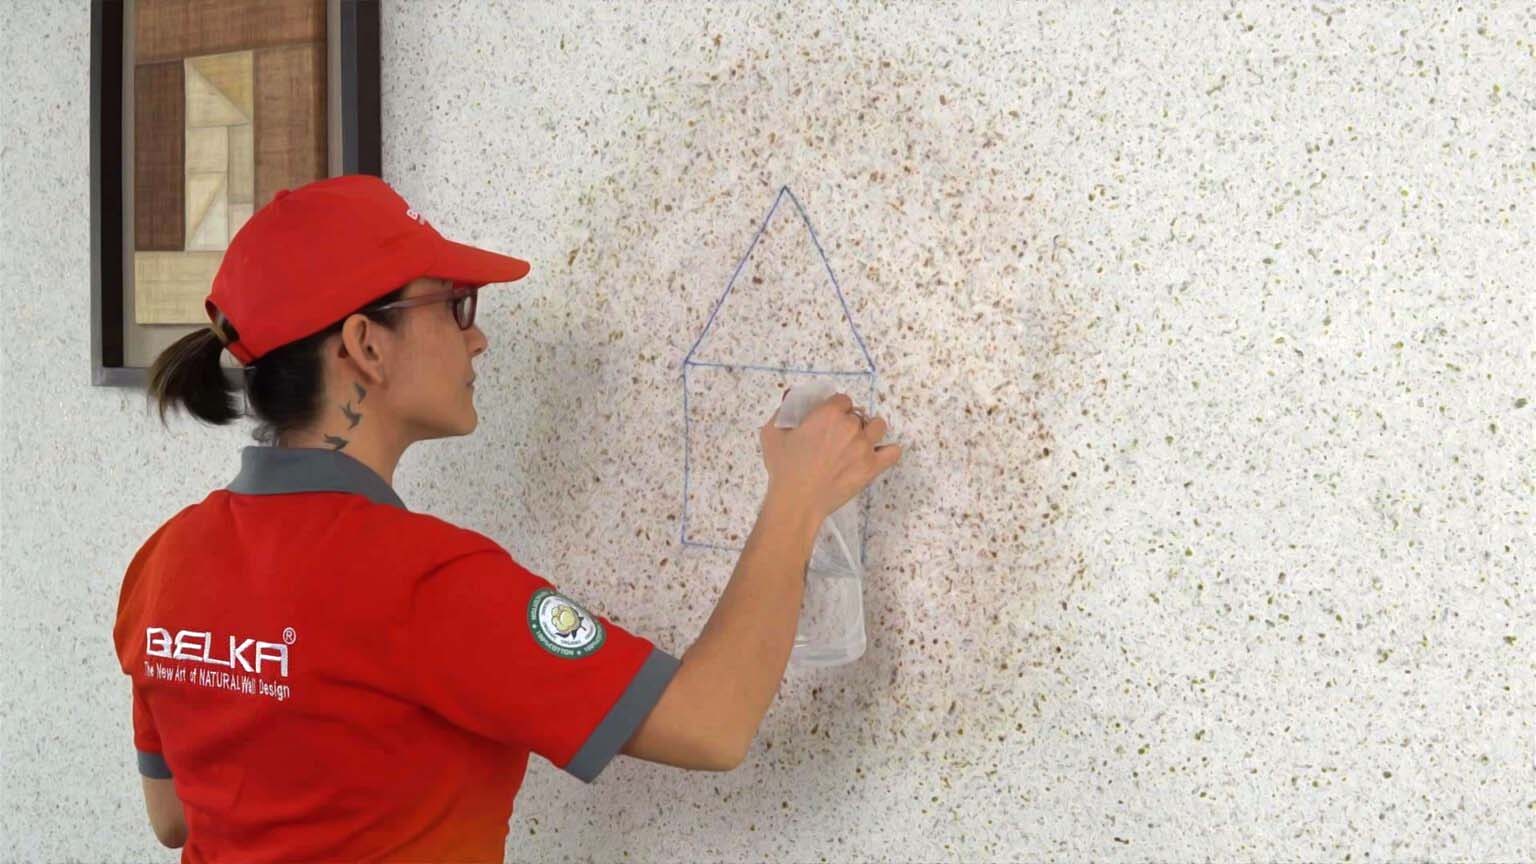
The first step in repairing Belka is to spray the affected area with water. This is important to soften the Belka material and loosen it up. Make sure to spray the surface evenly so that the water can penetrate well. This will soften the texture of the wall, making the next steps much easie
Belka Removal – Here's How!
What could be better than a high-quality wall covering that's easy to apply? Even better is the fact that you can just as easily remove it! Whether you're renovating your living room, redesigning your kitchen, or renting and want to secure your deposit, Belka is the perfect choice for you!
To remove Belka, the first thing you need is water. Grab a spray bottle and generously spray the entire surface until Belka softens. Make sure to evenly moisten the wall so the water can penetrate well. This will make the material pliable and much easier to peel off afterward.
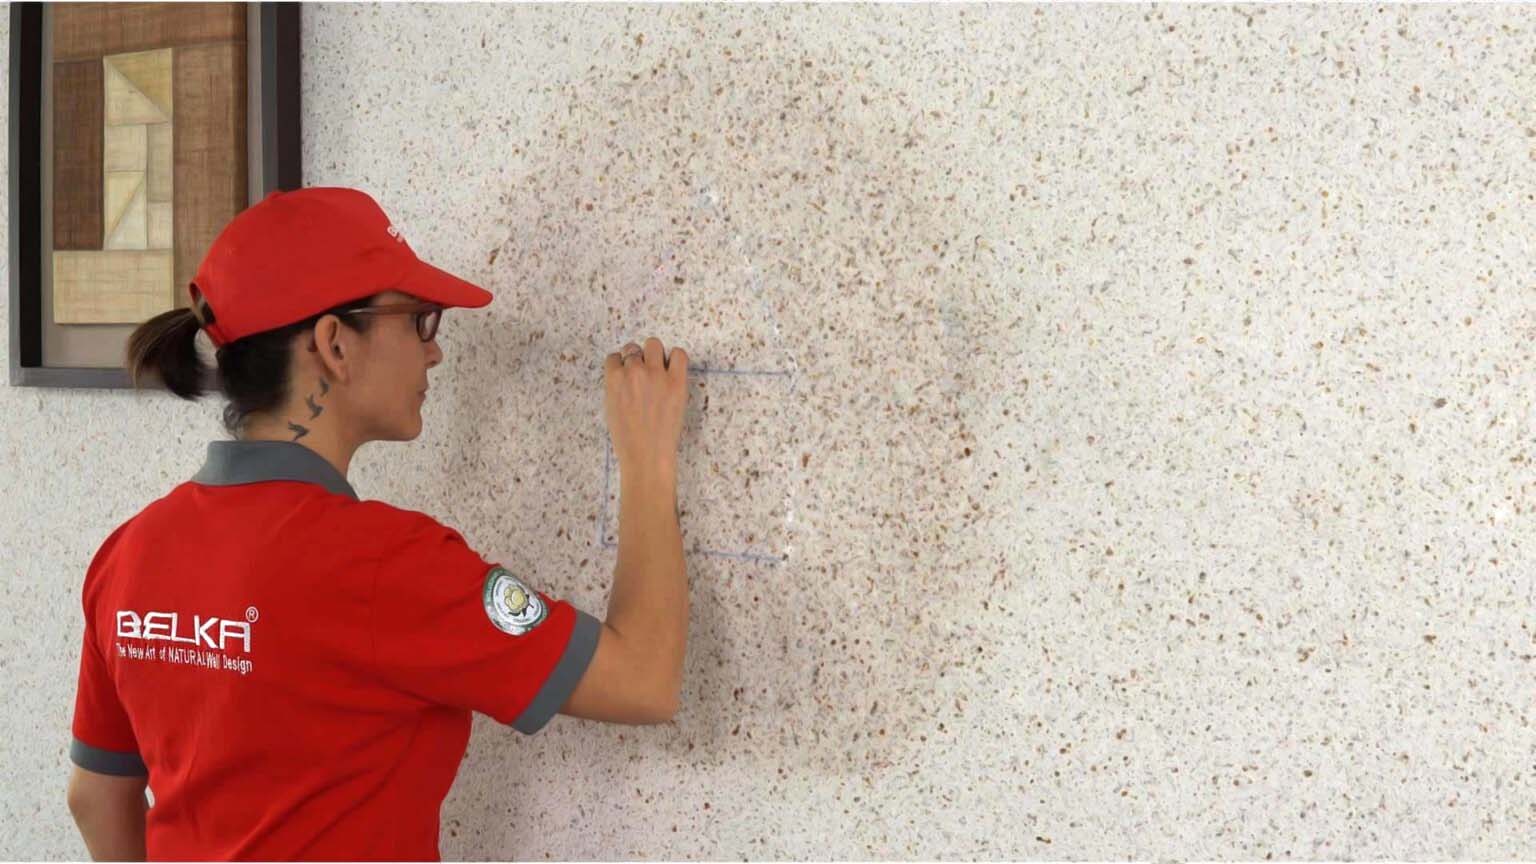
Once Belka is soft enough, you can simply peel it off. This usually happens without leaving any residue on the wall. Unlike paint or traditional wallpaper, Belka does not damage the wall. In most cases, you only need to wipe the wall with a damp cloth after peeling it off, and it’s clean again. However, if you’ve used lighter colors like red, you might need to add a bit of soap or dishwashing liquid to thoroughly remove any remaining residue. Even years after applying Belka, your walls and ceilings remain intact and in their original condition.
Another great advantage of Belka is that the material can be reused to enhance another wall or ceiling. So, if you’re feeling creative and want to create a new look, simply add water again, knead it like fresh material, and let your creativity flow. However, keep in mind that the quality might slightly decrease upon reuse. Still, it remains a fantastic option to save resources and beautify different areas of your home.
Overall, Belka offers a simple and effective solution for anyone seeking flexible wall design. With these easy steps, you can effortlessly remove Belka while ensuring your walls remain in perfect condition. Take the first step and explore the possibilities with Belka!
Create Individual Designs With Belka
Unleash your creativity with 60 stunning colors! Belka is designed to let you mix colors and create new patterns that truly reflect your personality and project. For even more stylish and vibrant designs, you can add Belka mineral stones to make your walls and ceilings shine!
Mixing Belka Colors
To create unique wall designs, prepare each color separately and let it rest for 35-50 minutes. Combine the colors to your liking and knead them thoroughly afterward. Now you can create your very own Belka wall design!
Tips for Personalized Wall Design
Over the years, Belka and our customers have discovered the best ways to combine Belka colors. Here are some top tips:
To create an extraordinary marble look, mix the colors lightly. The less you mix, the more clearly the colors will remain separate. If you mix too much, you might end up with a new color rather than two combined colors.
Emphasize one side of the room with a darker shade to create an accent wall that immediately draws attention.
For more intricate designs, you can draw patterns directly on the wall or create a stencil to help apply the colors evenly.
Whether you prefer a simple look or want to create something truly unique – with Belka, you have endless possibilities to design your walls exactly as you envision!
Corner Application: Applying Belka Wallpaper to Edges and Corners
Belka Wallpaper is an innovative wall covering that is easy to apply. In this guide, we will explain how to properly apply Belka in corners and along edges.
The same steps apply for edge application:
1.Apply a small amount of Belka to the edge.
2.Use light pressure when applying the paste on the edges to avoid excess material.
3.It is possible to use two spatulas – one in each hand – to make the application easier.
4.Press the spatulas from top to bottom without applying too much pressure until the edge is smooth and seamless.
Emphasize one side of the room with a darker shade to create an accent wall that immediately draws attention.
For more intricate designs, you can draw patterns directly on the wall or create a stencil to help apply the colors evenly.
Conclusion
Applying Belka wallpaper in corners and along edges requires precision and care. By following the correct steps, you will achieve a uniform and professional finish for your walls. If you have any further questions or need assistance, our customer service is happy to help.
Completing incomplete walls with Belka: A step-by-step guide
Welcome to our simple guide on how to complete an incomplete wall with Belka. Our modern wallpapers are designed to make this process straightforward and offer a great way to transform your interiors. In this guide, we'll explain the steps in detail.
Before you begin the installation, make sure the work area is clean and free of dust. This is crucial for achieving optimal results.
- To achieve an even finish and avoid shadow contrasts, moisten a 30 cm wide area of the surface.
- Make sure the dry Belka wallpaper becomes soft.
This step ensures that the new Belka paste adheres well and creates a uniform appearance.
Conclusion
That’s it! In just three simple steps, you’ve learned how to complete an incomplete wall with Belka wallpaper. This is not only a fun DIY project to enhance your space but also results in a modern and stylish wall design. If you have any further questions or concerns, our customer service is always available.
Discover more tips and tricks on our website and start transforming your space today! Remember, with Belka, you’re not just investing in a product, but in an experience. Enjoy decorating!
FAQ
Approximately 3.5 square meters, depending on the surface condition and application technique.
The recommended application thickness for Belka is 1.5-2 mm for optimal results. For enhanced insulation, you can apply a thicker layer, up to 1-2 cm. However, thicker applications require intense air circulation to ensure proper drying. Keep in mind that applying a thicker layer will reduce the coverage area per kilogram.
Drying time depends on the room’s temperature, ventilation, and humidity but typically takes 24-48 hours.
Belka can be applied in bathrooms on walls not directly exposed to water, ensuring the surface is dry and well-prepared.
Yes, Belka is suitable for ceiling applications, providing a smooth and decorative finish.
No, Belka is designed for walls and ceilings, not for flooring applications.
Use a soft, dry cloth to clean, or gently wipe with a slightly damp cloth if necessary. Avoid using abrasive cleaners or excessive water. Thanks to Belka’s anti-static and moisture-resistant properties, dust is less likely to accumulate, keeping your walls clean.
Spray the surface with water to moisten the material, then gently scrape it off with a trowel.
Remove the damaged section by moistening and scraping it off, then reapply a fresh Belka mixture to the area.
It is recommended to remove old wallpaper for better adhesion, but it may be applied over stable wallpaper with proper surface preparation.
You can store Belka in its paste form in an airtight container in a cool place, such as the refrigerator, for up to 2 days.
Keep the dry package in a cool, dry place away from moisture and direct sunlight.